
The Bonny Gaol in the Shadow of the Erdtree DLC for Elden Ring is a strange, strange place with some haunting insights into the nature of a common enemy, and a beloved fan-favorite character. But, it's a dungeon, so it's also got some goodies stashed away.
Where to find Bonny Gaol in Elden Ring
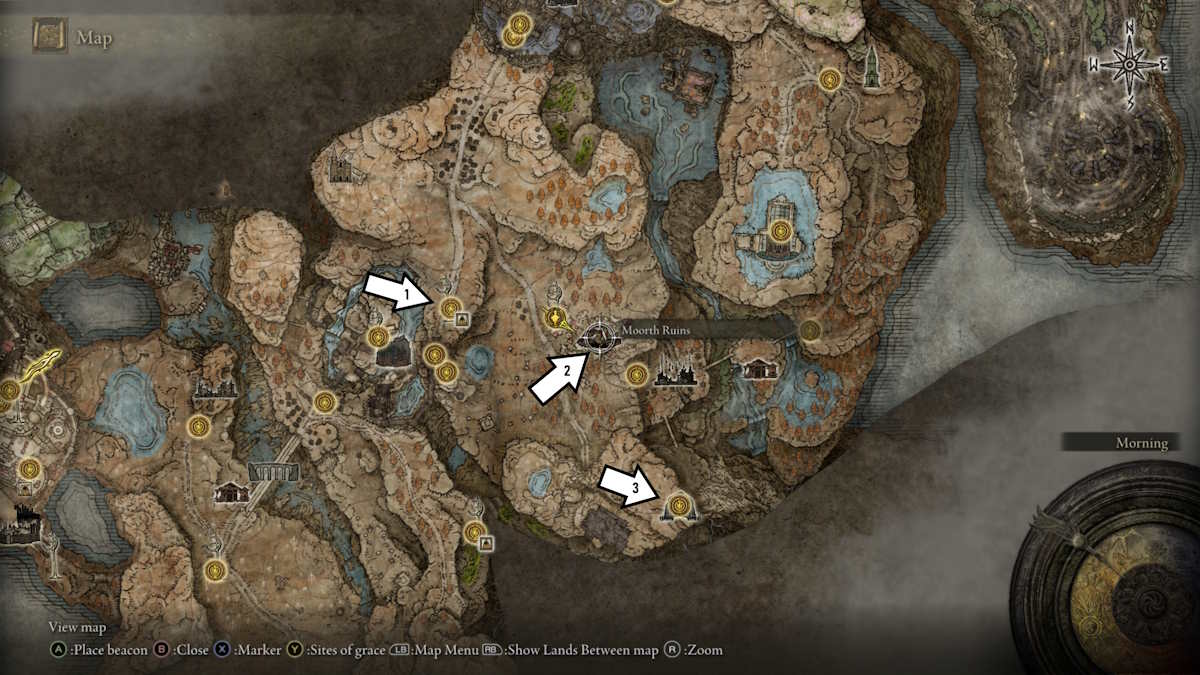
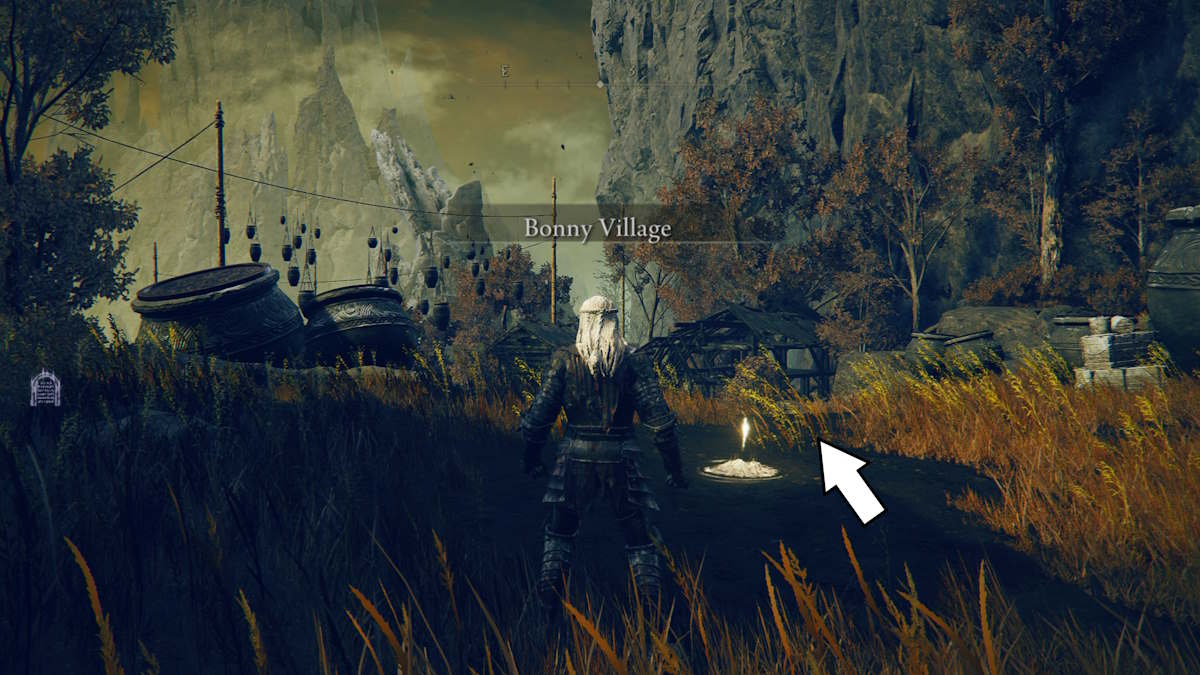
To reach the Bonny Gaol (3) (which I keep incorrectly spelling as 'Bunny Gaol') you'll first need to reach the Bonny Village, an equally strange place with lots of naked, peculiarly golden, and rather unhappy folks running around with massive knives.
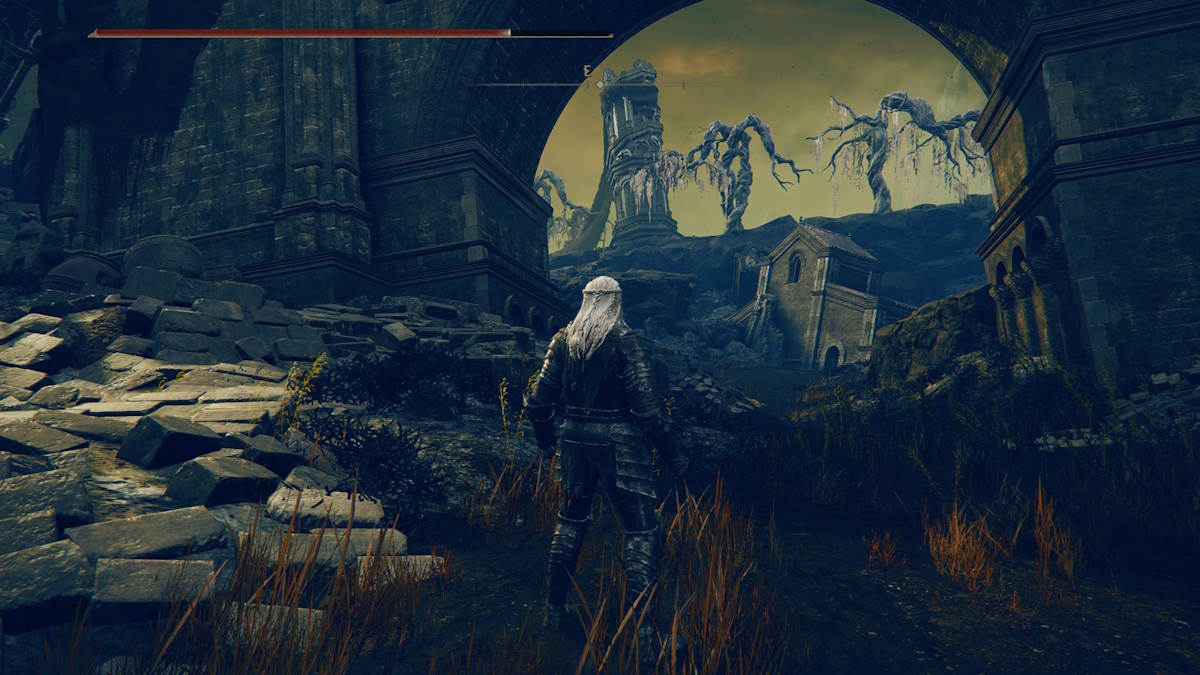
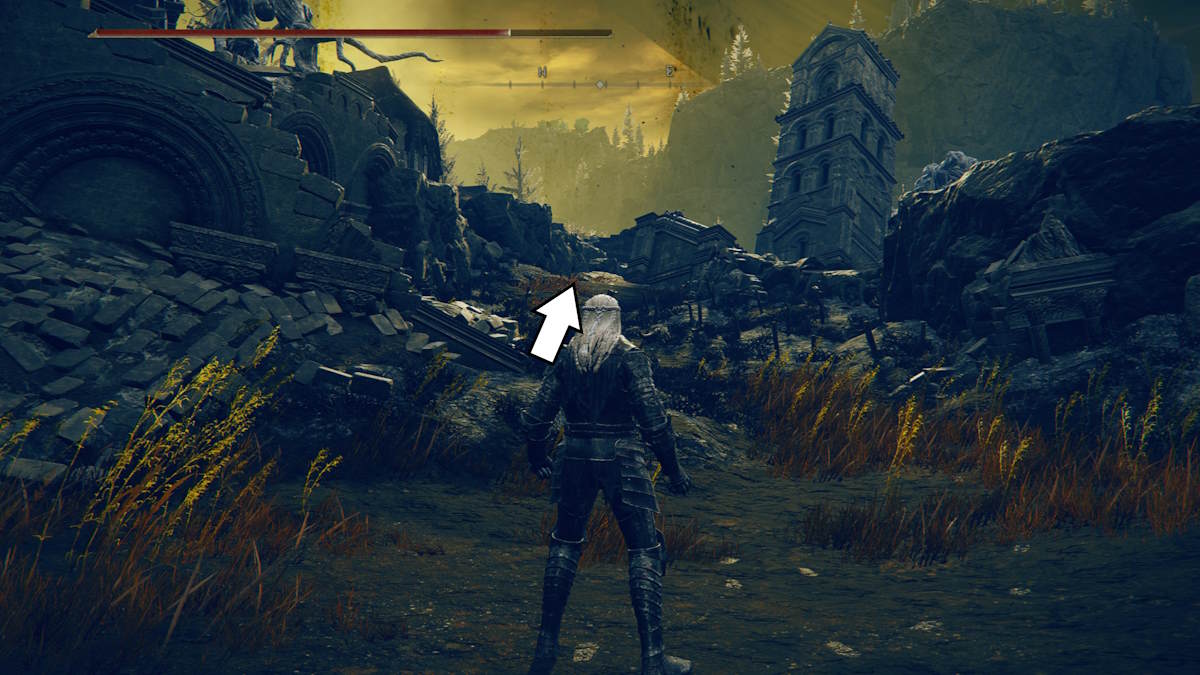
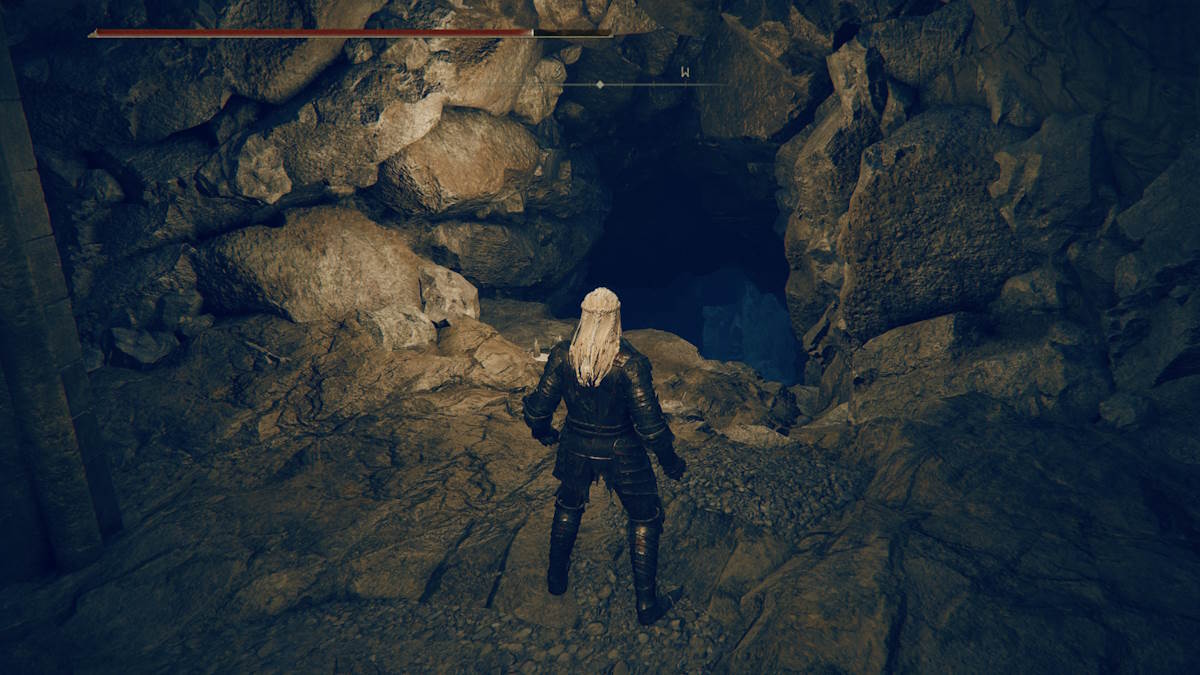
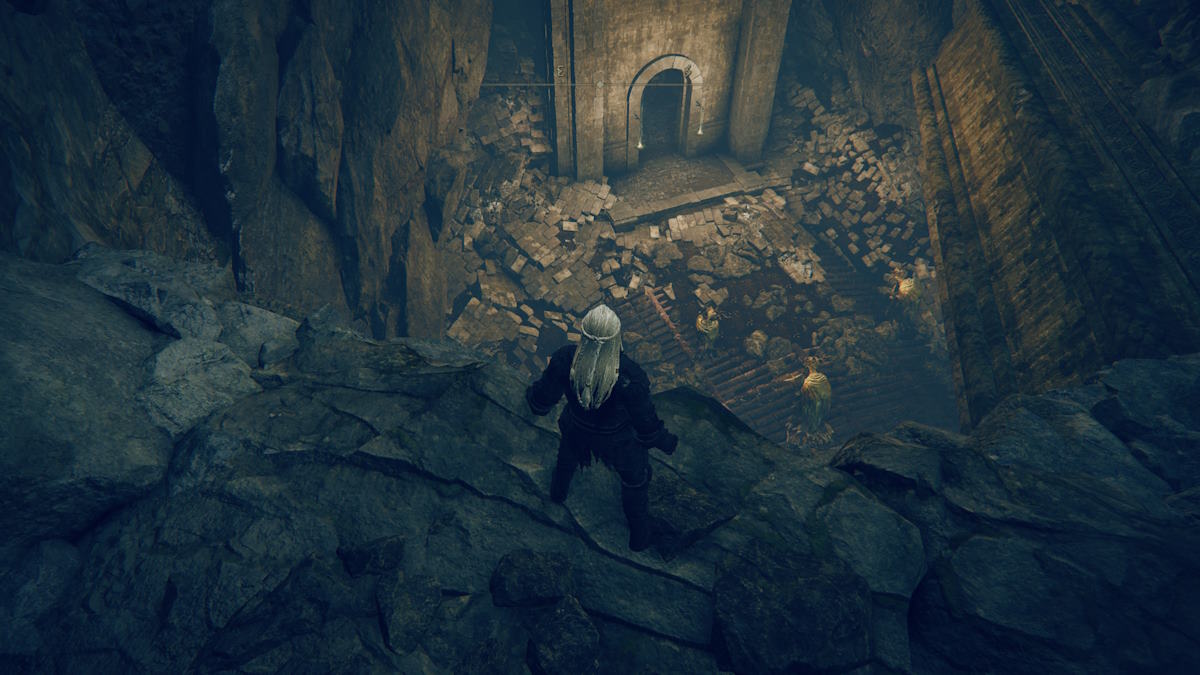
You can get here shortly after getting through the second major boss, Rellana, and getting to Scadu Altus. From the Highroad Cross Site of Grace (1), head east towards the Moorth Ruins (2). From the Moorth Ruins Site of Grace, head down the path and under the big arch. Continue on until you see a path on the left, and follow it to find a building sunken into the ground. From there, you'll need to walk off the balcony and down into a chasm, where there'll be two dogs to watch out for. Look around for a path through the rocks, and continue on. You'll come across yet another drop-down, this one with some strange horned folks below. From here it's yet another drop down onto a balcony, and then off into a larger cavern. From here, continue straight on to find a ladder that will lead you right to the Bonny Village Site of Grace.
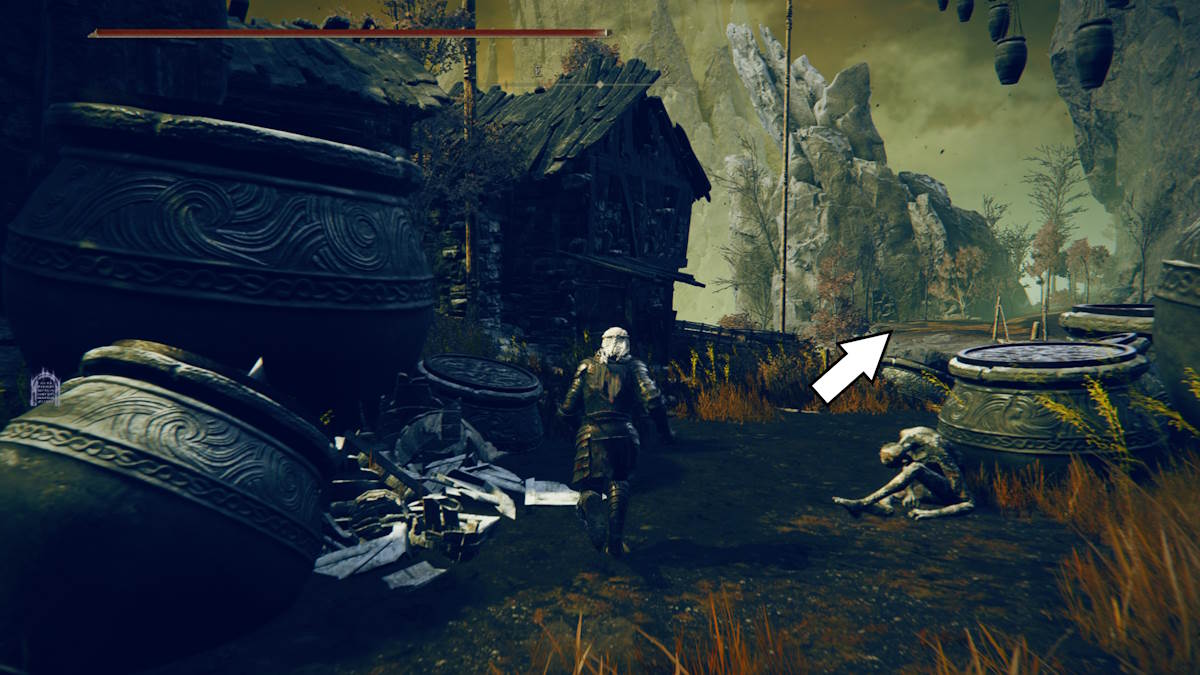
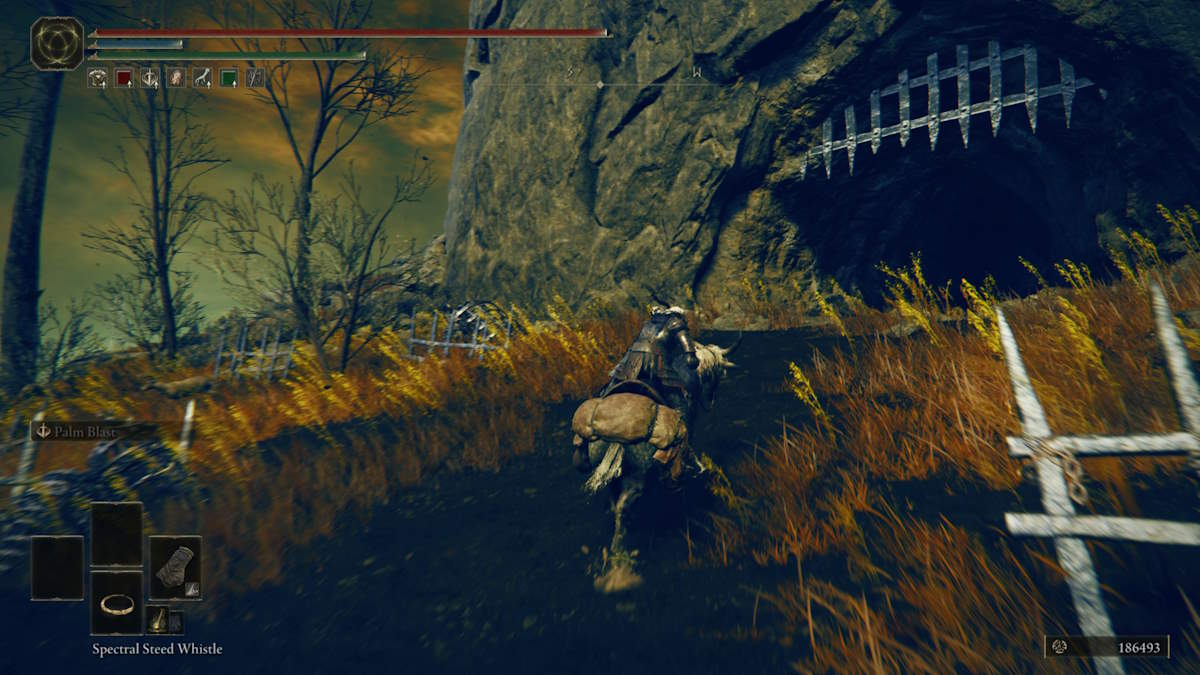
Once you're here, you're free to look around and check out some of the... sights. (It's jars, shadow people, and naked golden people.) But there's also a few goodies around, so delve to your heart's content. Otherwise, head down the path into Bonny Village and take the first right you see, which isn't far from the Grace. You'll see a large rope bridge, which you'll need to cross to reach the Gaol. Once across, continue straight on, but watch out for the two scorpions who'll jump out to try and grab you. The entrance is easy to spot, as it's on the cliff wall on the right.
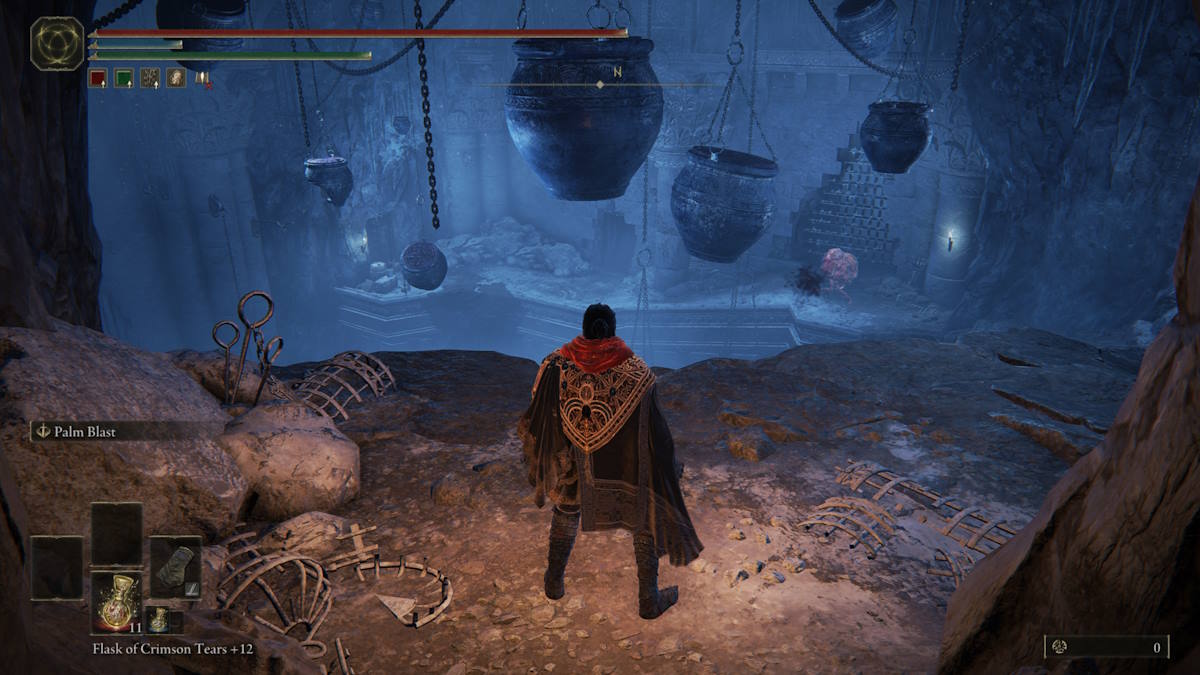
Head on in, rest at the Bonny Gaol Site of Grace, and get ready for a (very literal) dungeon crawl. Head onward to be greeted by a large open (and very chilly) room. Follow the path around, and watch out for the... jar thing. These things are horrid, but thankfully pretty squishy. They do pack a punch though, so stay on your toes as they throw their own torn bits of flesh at you, attempt to grab you with what might be a digestive tract, and push you around. On the left of this first meatball man that'll attack you, you'll see some large pots just underneath the lip of the ledge. You can take these down to access another cell that contains a hefty cracked pot item. To get back up, there'll be a button you can press to bring the jars back down to ride back up.
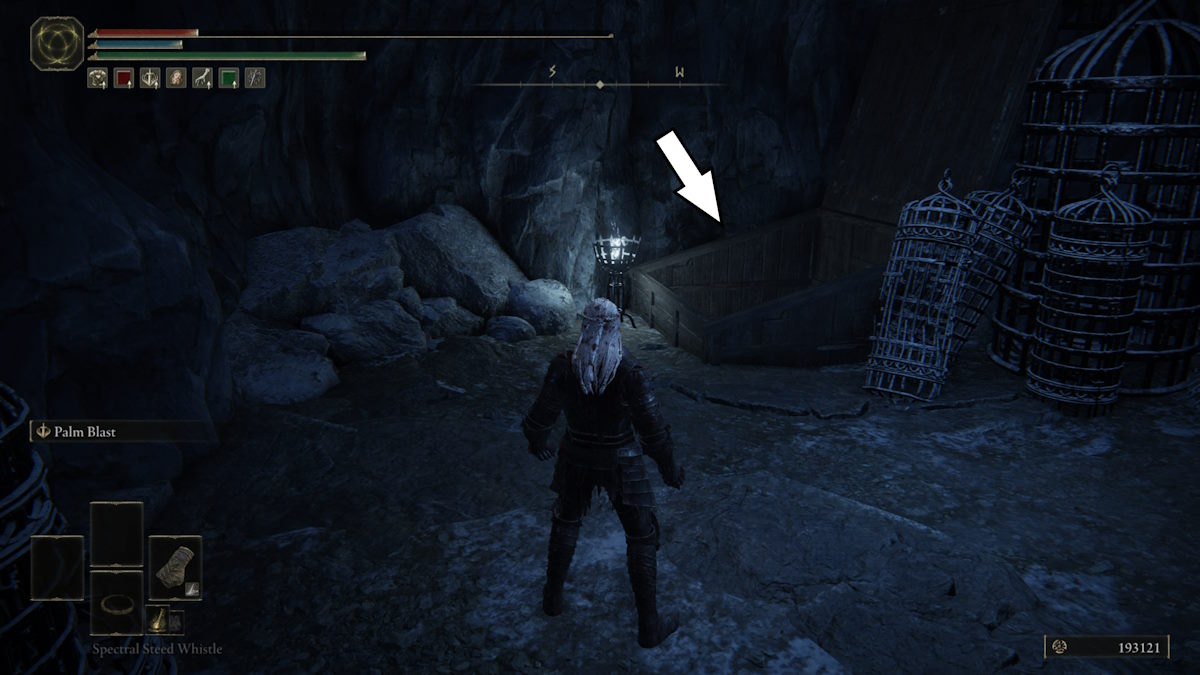
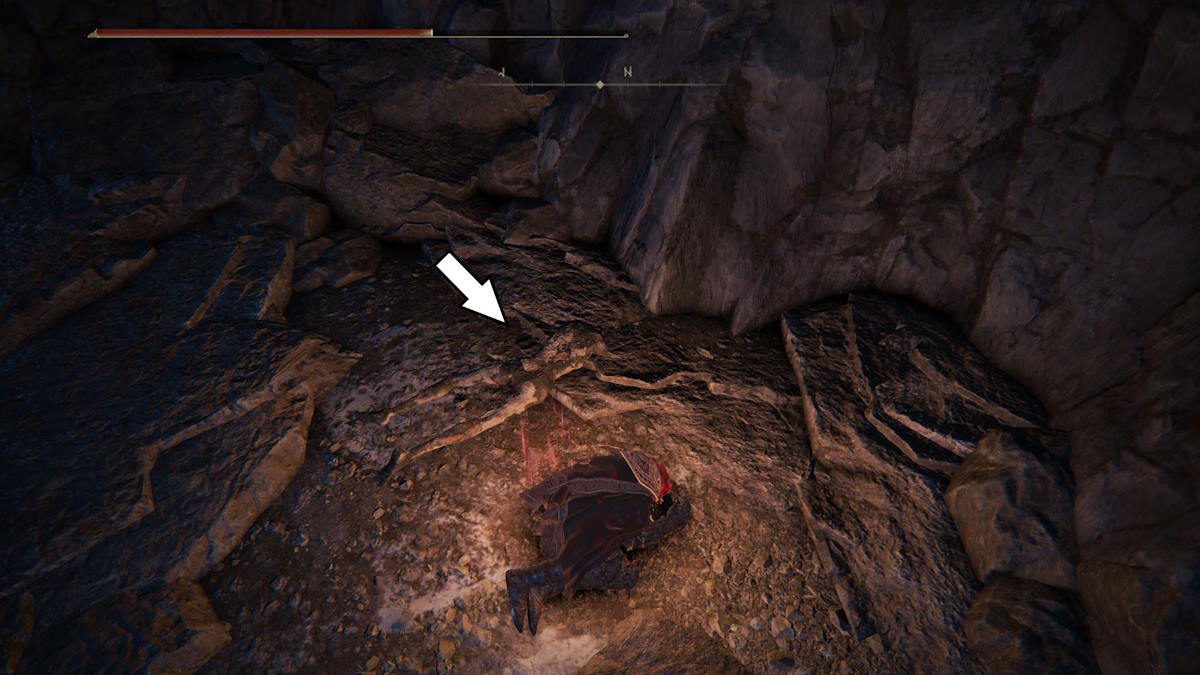
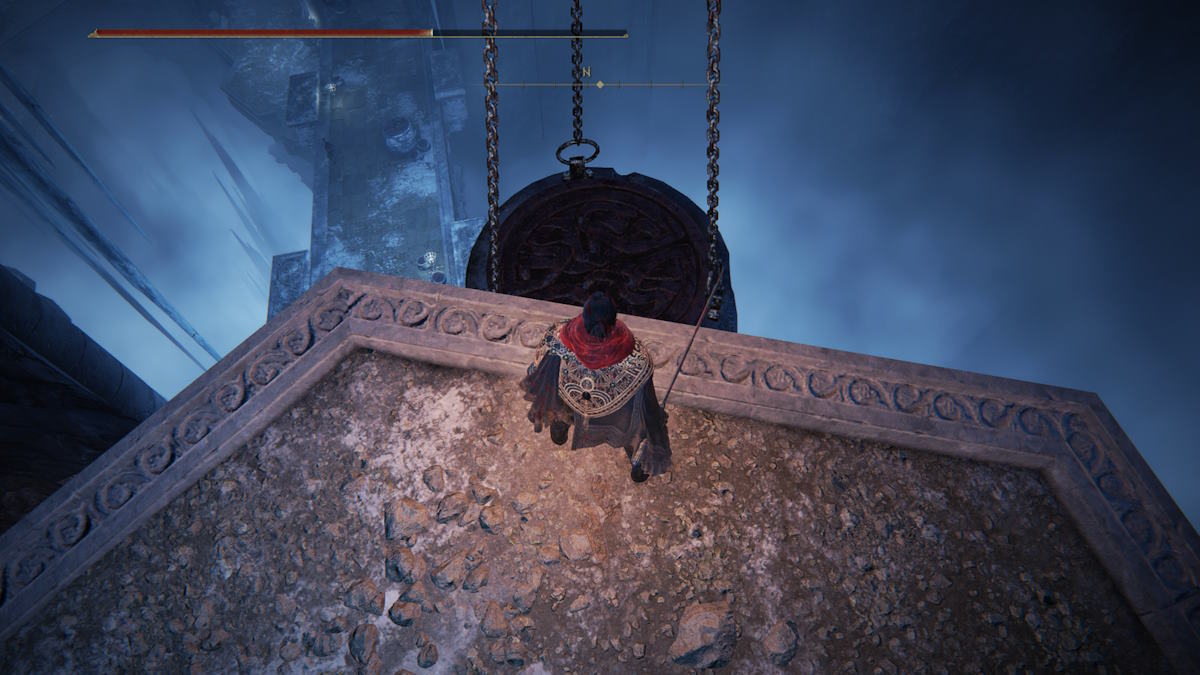
Continue through the room ahead, and take the door on the left. From there, you'll need to jump down into the big open wooden hatch.
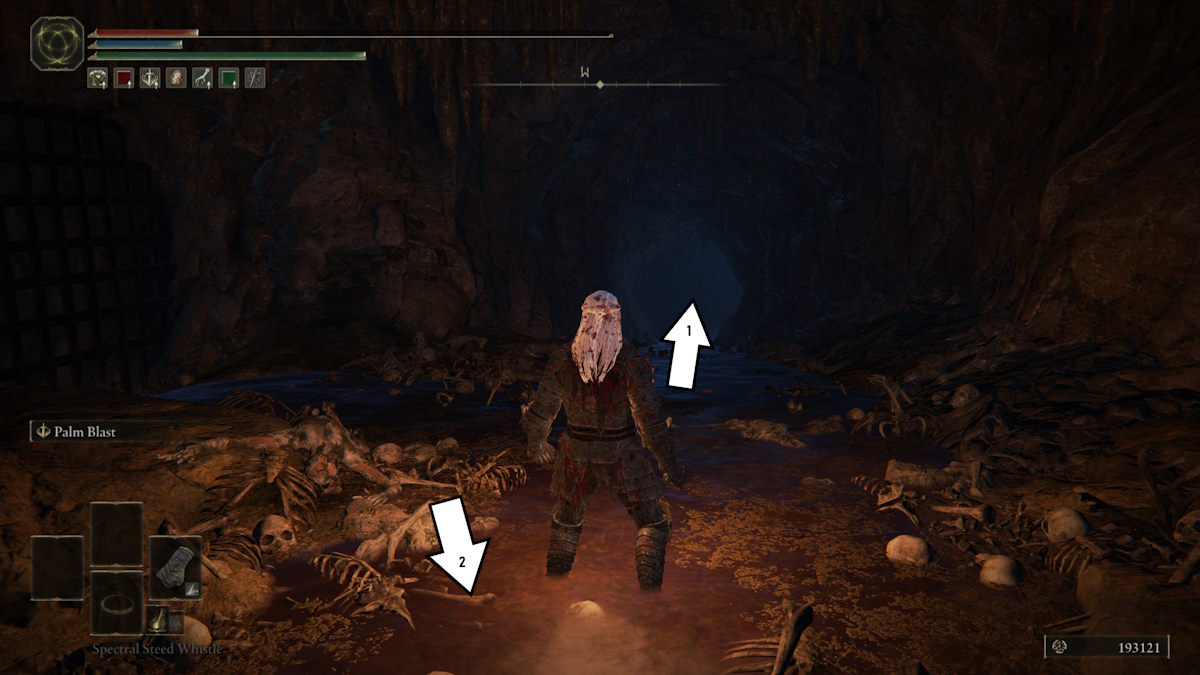
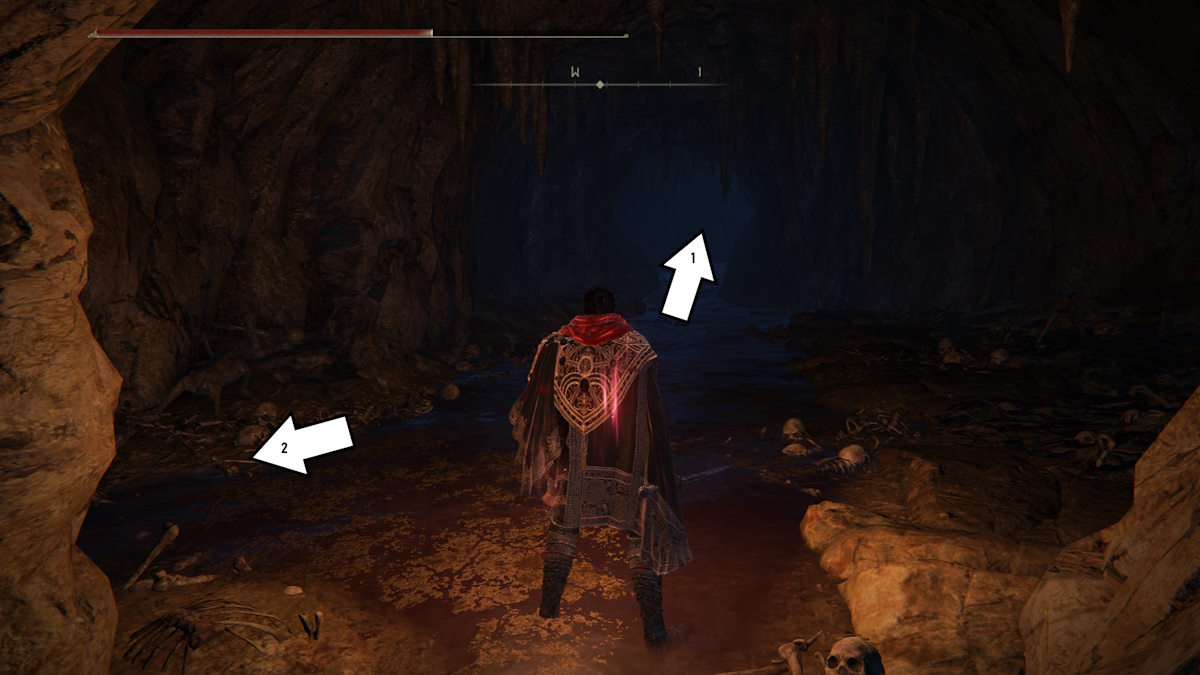
From here, you'll have a path ahead of you, and a path behind you. The path ahead of you (1) leads you towards the route forward, but the path behind you (2) will lead you to a Stalwart Horn Charm +2 Talisman (which raises your Robustness stat) should you choose to chase after it. If so, there'll be some rats in your way, but otherwise, it's a straight shot. Keep going until you reach a ladder, climb up, and claim your spoils from a corpse in a cell. You can either drop back down the ladder, or jump out the hole in the side of the cell.
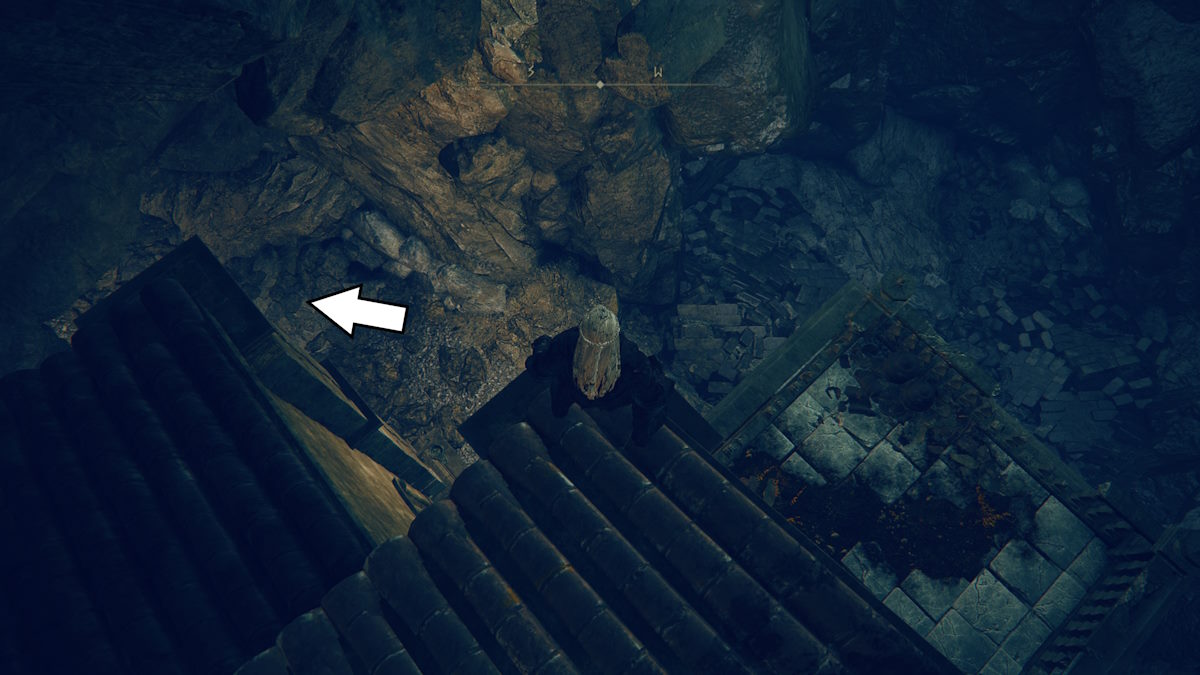
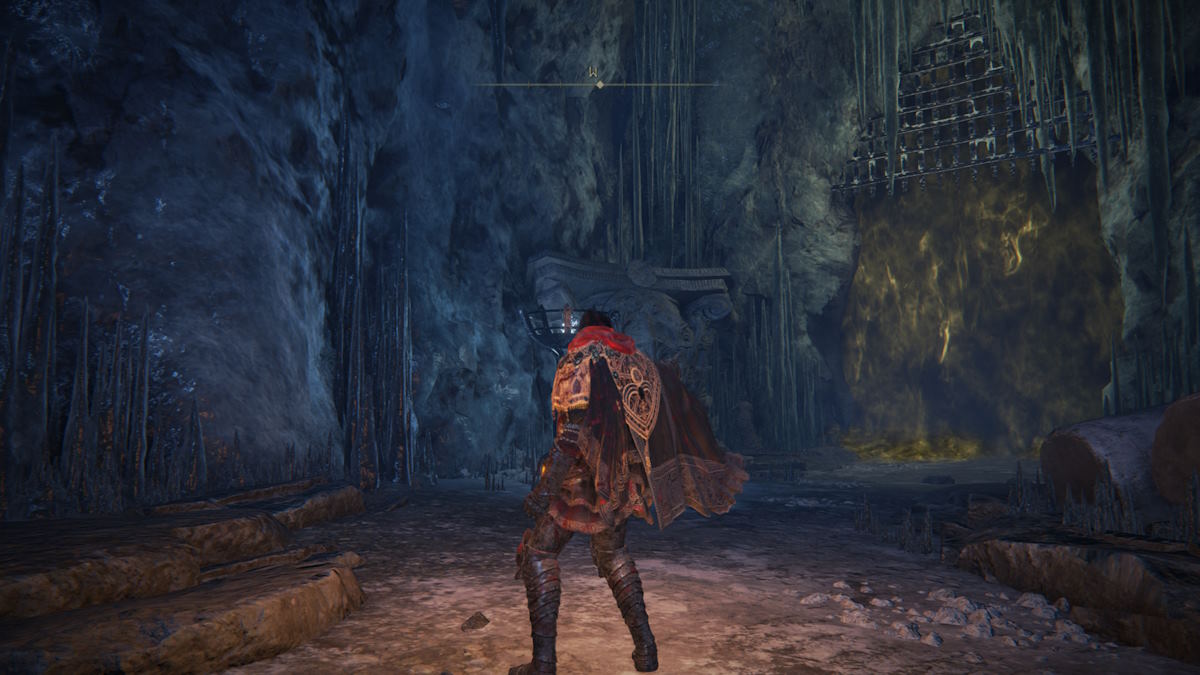
When you're done, continue on the path ahead. Watch out though, as the path ahead has plenty of slimes, which you'll remember from the base game. They're still strangely tanky, but also pack more of a punch here, so it's best to avoid them. You'll be presented with what looks like a direct path ahead (1), but this is somewhat of a trap, as the only thing at the end of the path ahead is a broken rune pickup, and some more slimes waiting to catch you. Instead what you'll want to do (unless you're absolutely fiending for 500 runes) is take the path on the left (2), which is easy to miss at first. This is the proper path forward, and will lead you to a small waterfall and present you with a large cavern filled with a concerning amount of jars.
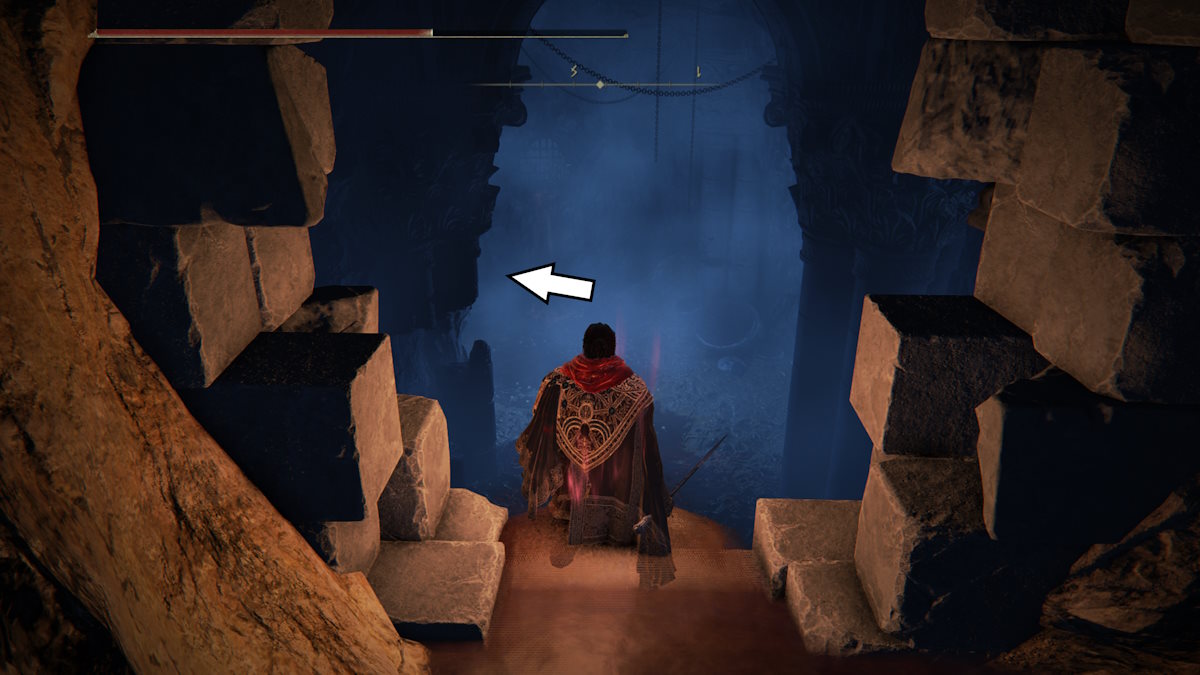
Press on the relatively straightforward path, being cautious of the ample Living Jars walking around, and continue until you reach another large open room. You'll be able to see the boss gate here, and you'll need to make your way through some cells with some more meatballs and shadow men before reaching another large jar elevator that will lead you down to the bridge to the boss arena.
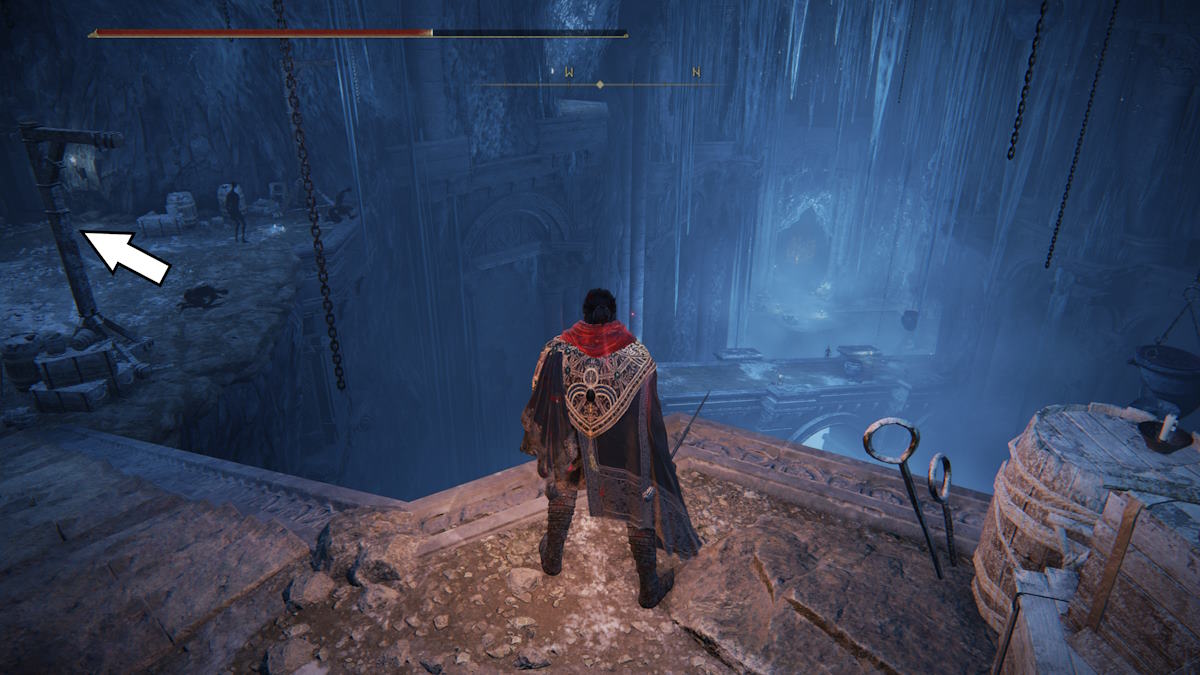
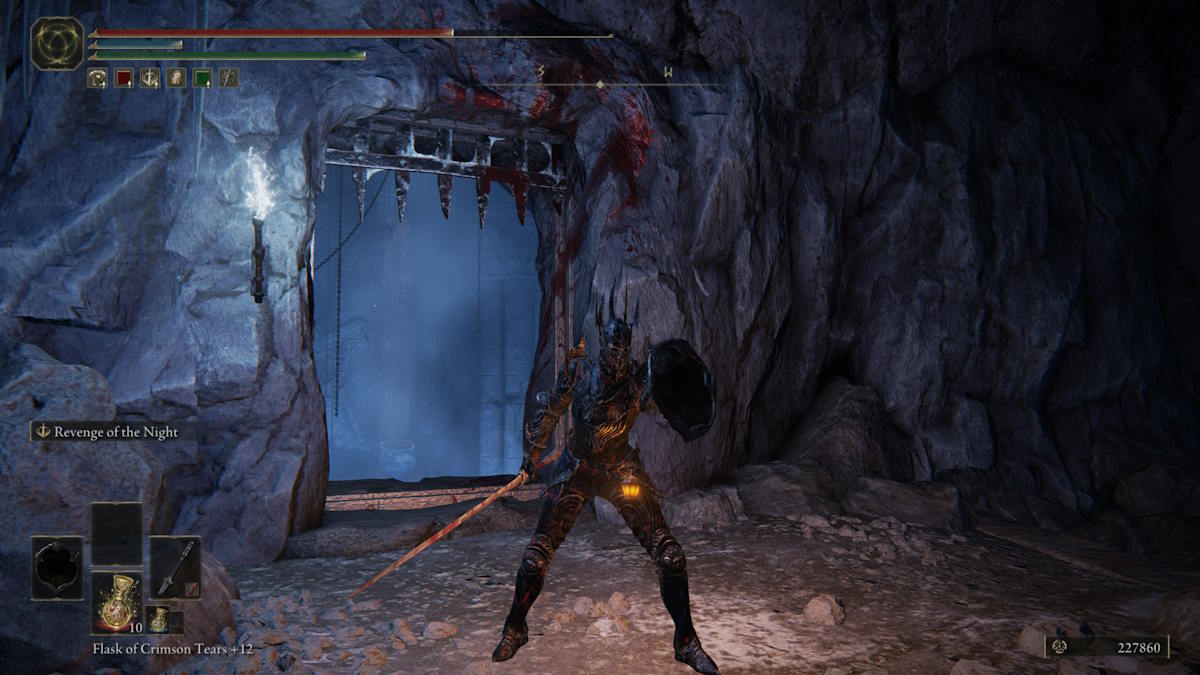
When you get to the bottom of the elevator, don't rush off just yet. If you stay or hop straight back on, it'll take you up an extra few 'floors' and lead you to an area with some very important items. You'll have to fight some more shadow men and meatballs, but your rewards for doing so are the Armor of Night (on the table right as you get off) and the Shield of Night (in a room to the left of the elevator). These are both very, very sleek, lending themselves well to a light-armored build with a penchant for buckler parries.
Head back down on the elevator, and get off at the bridge. Follow this round to the boss gate, and prepare to meet Curseblade Labirith.
Curseblade Labirith Boss Guide - Tips & Tricks
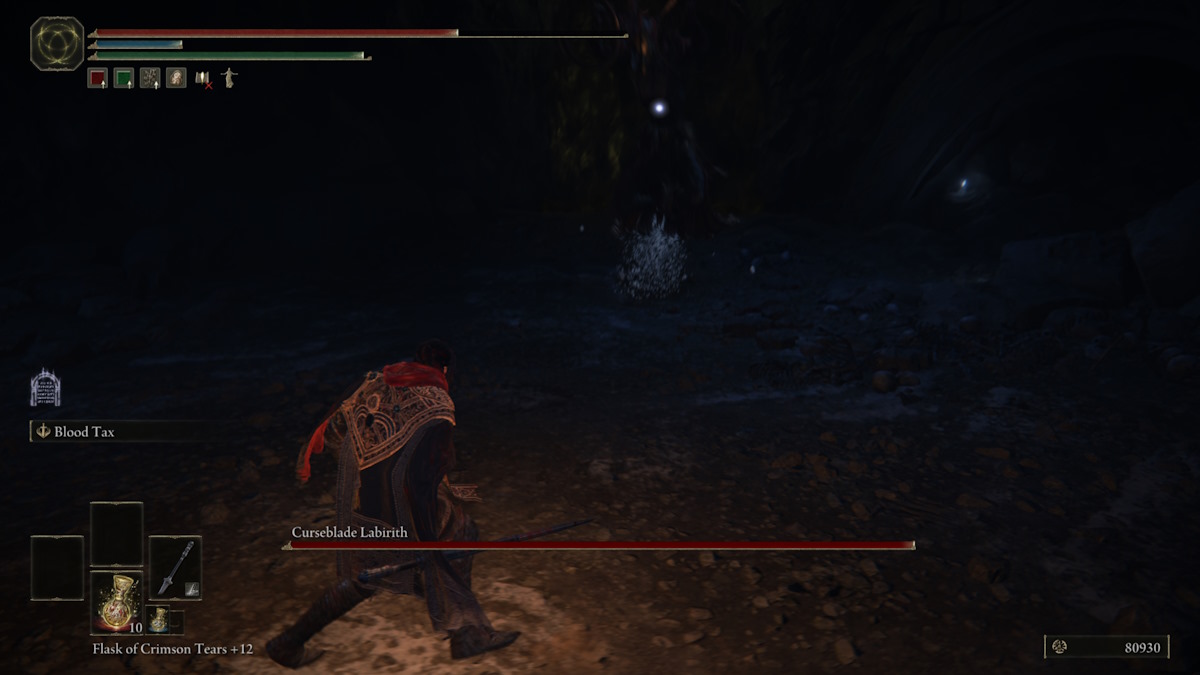
Curseblade Labirith isn't a surprisingly tough fight considering the caliber of the DLC at large, but it's still a tough fight regardless. Labirith does high damage, stacks bleed, and can even vanish into shadows at will. On top of that, as a Curseblade, Labirith also has some crazy long attack combos which can drain you of stamina and force you into a panic roll.
As with any Curseblade, patience and timing are your best plan of attack here... along with a good weapon. You'll want something with decent poise damage, as thankfully Labirith is quite low on poise. You'll want to wait for the end of a long attack chain, carefully timing your dodges and trying to dodge forwards as opposed to backward, as this can cause Labirith to overshoot their attacks. Once it's over, give 'em a charged heavy, and hopefully a good few should be enough to break poise and allow you either a moment to heal or deal some additional damage.
When Labirith pops their smoke, stay away as it'll deal damage if you get too close. They'll then go invisible, and when they emerge they'll do so with a very quick attack that deals massive damage if it connects. Thankfully, their reappearance comes with an audio queue, so you'll know when to dodge when the need arises. You can force them out early by moving as far away from their smoke as you can, or hugging the edges of the area. Don't stay here too long though, as the last thing you want is to get pushed up against the wall.
Keep scrapping until they drop, and then reap the rewards, which in this case is an Ash Summon for Curseblade Meera, which means you too will be able to send some bloody, disc-y pain towards whatever boss you might come across next.
If you've found this guide helpful and are looking for some more Shadow of the Erdtree content from us here at Pro Game Guides, check out our Belurat, Tower Settlement Walkthrough and our Castle Ensis Walkthrough.
Write A Comment
Bonny Gaol Walkthrough – Elden Ring Shadow of the Erdtree DLC
This site is protected by reCAPTCHA and the Google Privacy Policy and Terms of Service apply.