With Final Fantasy XIV: Endwalker now in its post-game content, some players are eager to complete their in-game collection with some of the A Realm Reborn relic weapons. The Realm Reborn relic weapons are also known as Zodiak weapons and are unlocked via the Relic Reborn repeatable questline.
The Relic Reborn questline is the primary quest for unlocking the Zodiac Relic Weapons. Each of the original ten classes has a questline and a Relic Weapon associated with it. Here's how to you start and complete this long and complicated questline:
FFXIV A Relic Reborn Questline Guide
First step, find Gerolt
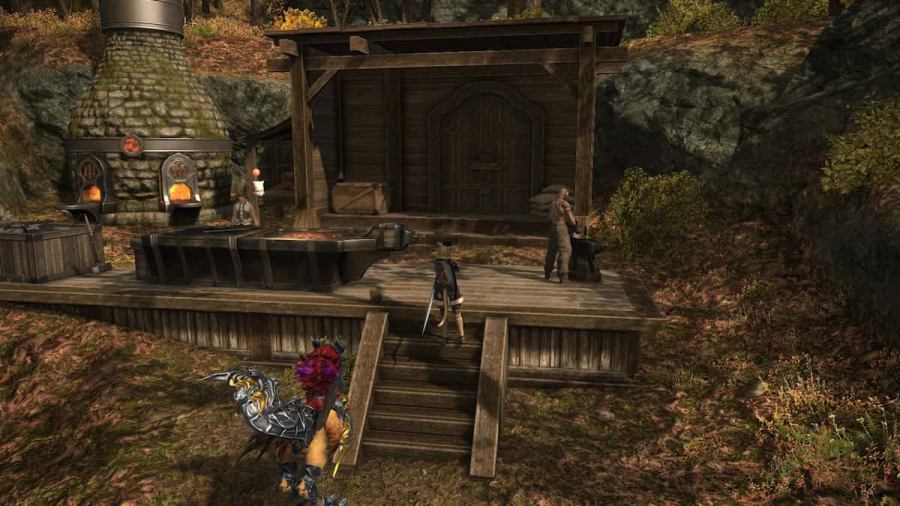
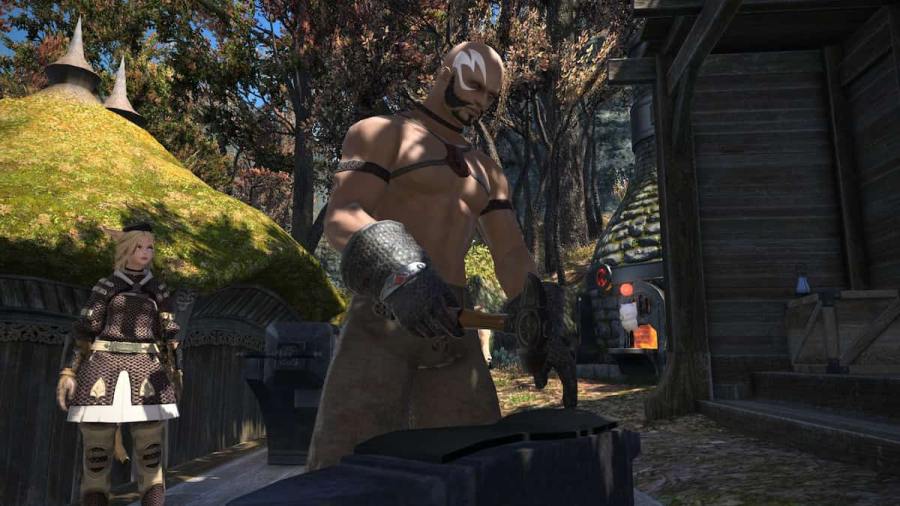
The first part of the Relic Reborn quest is to actually unlock the huge questline by finding Gerolt, the legendary smith who is able to craft Relic Weapons. Starting at Vesper Bay, Western Thanalan (X: 12, Y: 14), you'll need to complete the Weaponsmith of Legend quest to find Gerolt's hiding place deep in the Gridanian wilderness.
Relic Reborn, Part One
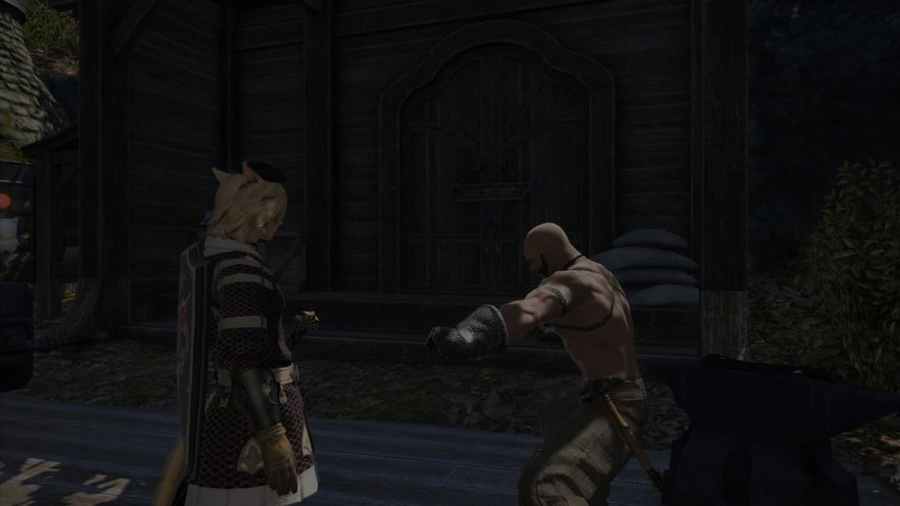
Once you've unlocked the Relic Reborn quest, your first task is to locate the broken quest weapon from one of the Beastmen Strongholds. This is completely dependent on your specific job, but it is usually in a high-level area with beast tribe mobs around level 45 to 50. Once retrieved, return to Gerolt.
Relic Reborn, Part Two
It's time for some melding. Purchase or craft the class weapon (this usually requires getting the materials from a dungeon), then attach two materials to it. The quest details which materia to attach. You can skip a lot of the work from this stage by having the cash and buying it off the marketplace and getting a Materia Melder NPC to do the melding for you.
Relic Reborn, Part Three
Now comes the first fun fight of the Relic grind. You'll have to complete the A Relic Reborn: The Chimera trial with your new weapon equipped. These trials can sometimes have a long queue time, so stay patient! Once completed, you should have the Alumina Salts item, so it's onto the next step.
Relic Reborn, Part Four
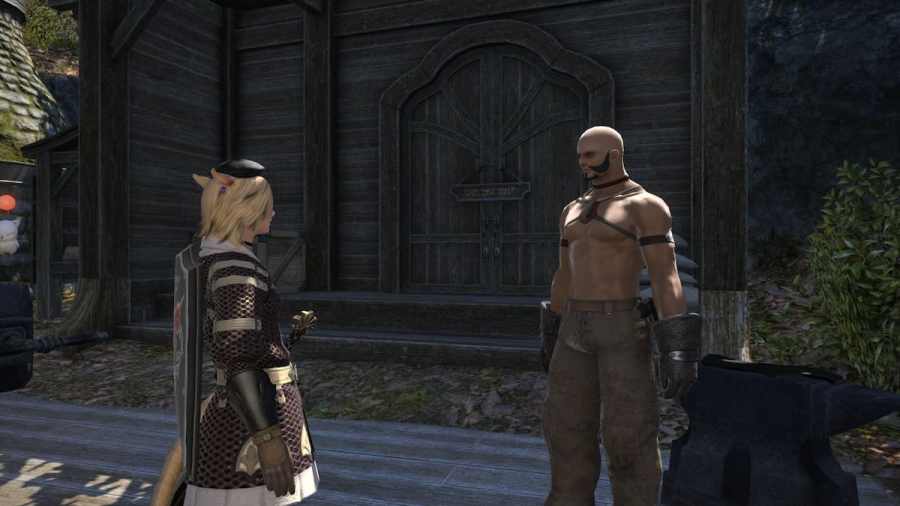
This step is about gathering materials. You'll go on a bit of a fetch quest to get Radz-at-Han Quenching Oil, Thavnairian Mist, and complete the dungeon Amdapor Keep, which brings you to the worst part of the questline.
Relic Reborn, Part Five - The Grind
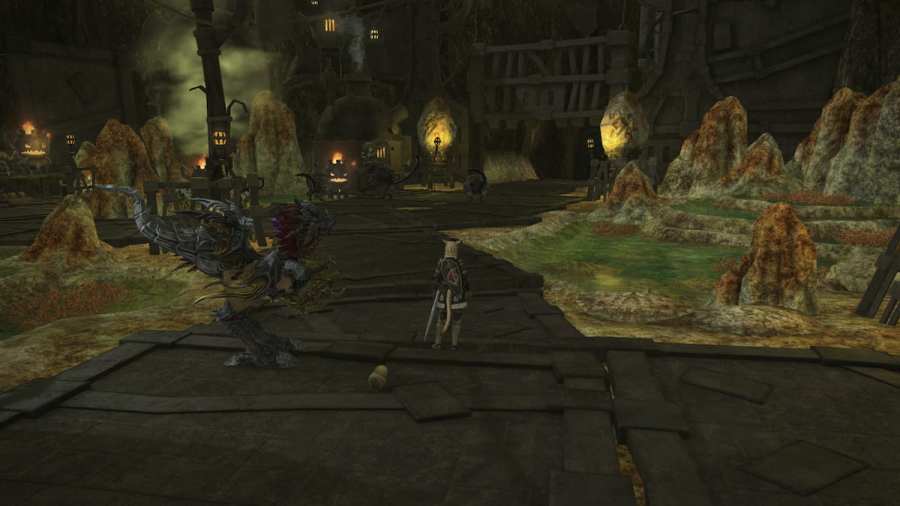
This is the grindy part of the mission; it's time to kill a large number of specific enemies. Each will be specific to your Relic quest and class, so pay attention to the quest markers. This used to be a lot longer, so be happy you're only killing two or three dozen enemies instead of the hundreds from the past.
Relic Reborn, Part Six
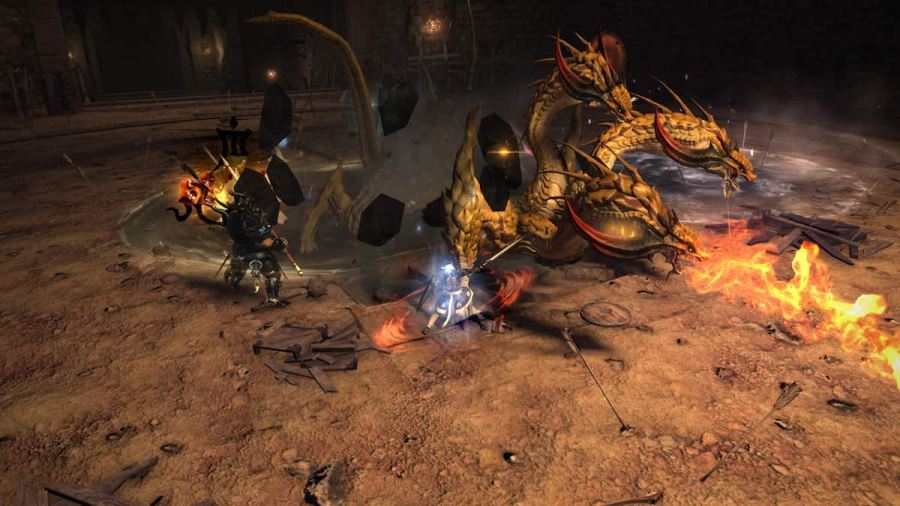
We're now at another fun part: killing the Hydra. You need another item to drop from this, so queue up equipped with your unfinished Relic weapon for A Relic Reborn: The Hydra. Once complete, hand your weapon off to Gerolt and get ready to kill some Primals!
Relic Reborn, Part Seven
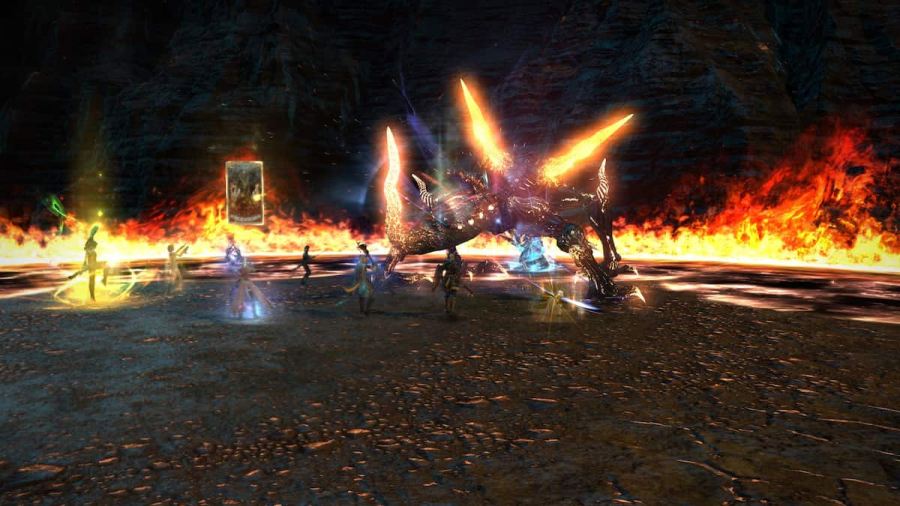
Le'ts start with some Primal fights! The first Primal you fight is Ifrit. Use the duty finder to enter the Bowl of Embers (Hard) to defeat Ifrit. Once he's defeated, you'll obtain the White-Hot Ember. Once you've defeated Ifrit, leaving the instance will automatically give you the item, and you can move on to the next stage of the quest.
Relic Reborn, Part Eight
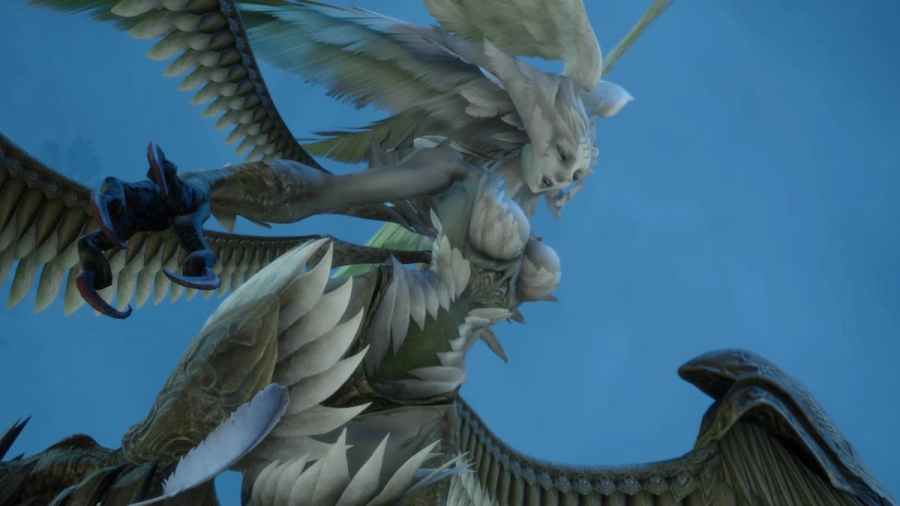
Next, you're fighting Garuda in Howling Eye (Hard). This is for the Howling Gale item. Again, like with Ifrit, once the fight is over, you'll automatically be given the item upon leaving the instances, and the next part of the quest will begin. Garuda can be one of the slower fights to pop if you're queueing in the Duty Finder, so be patient with this one—it can take a while.
Relic Reborn, Part Nine
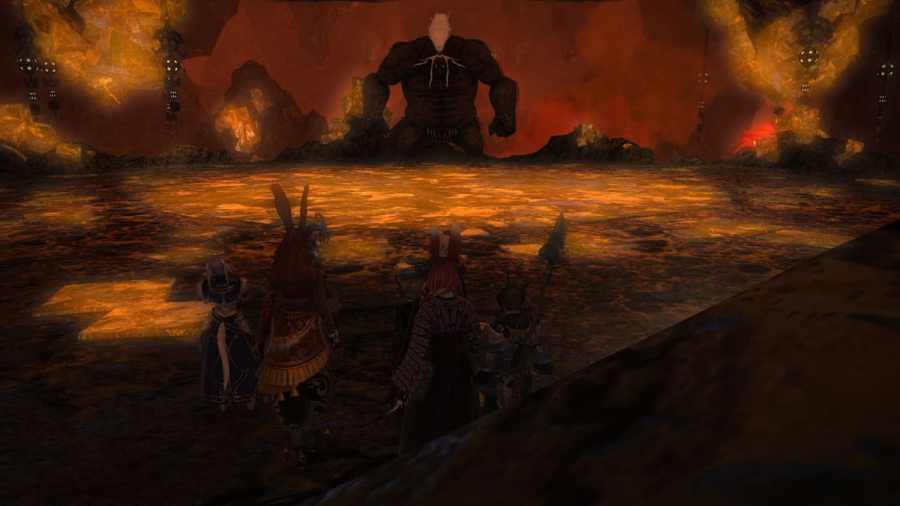
Almost done! The final item you need is the Hyperfused Ore. You'll obtain this from completing The Navel (Hard) and defeating Titan. Like the last three fights, once you leave the instance, you'll automatically be given the item. Head back to Gerolt and move onto the final stage of the Relic Reborn quest.
Related: Final Fantasy XIV Butterfinger Collab: Can you still get the Chocorpokkur Mount?
Relic Reborn, Part Ten
Last step! It's time to grind some Allagan Tomestones of Poetics. You'll need the Radz-at-Han Quenching Oil from Auriana (X: 22.7, Y: 6.7) in Mor Dhona. And you're finally done! Time to admire your brand-new Zodiac weapon!
For more Relic information in Final Fantasy XIV, check out When does the Final Fantasy XIV: Endwalker Relic Weapon quest release? on Pro Game Guides.
