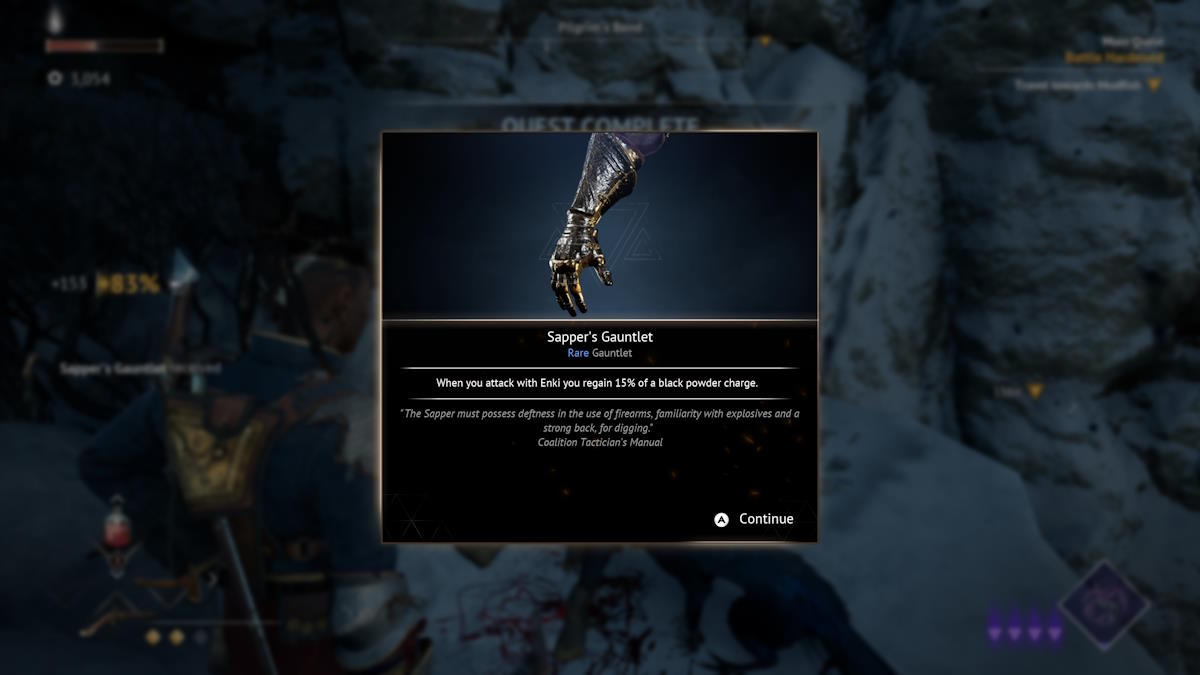
Flintlock: The Siege of Dawn has a pretty crazy amount of weapons and armor pieces for you to get your mitts on, and they offer some great bonuses and can really change up the way you play. One such piece is something you can get really early on into your journey, and in this guide we'll show you just how to do it.
Where to find the Sapper's Gauntlet in Flintlock Siege of Dawn (Location)
This gauntlet is a reward for completing the one of the first side quests you can do in Flintlock: The Siege of Dawn, and it's not on the main path so it's relatively easy to miss.
Right after completing the introduction section of the game and travelling with Baz to the area surrounding the City of Writ, you'll need to press ahead until you reach the first rest point. The main quest will be leading you left of the rest point, but you'll want to head right.
This will lead you to a gate area, which is currently closed. Head right of the gate to see one of the rift travel skulls, and activate it. You'll need to cross the gap and clamber up the rocks to reach to reach yet another rift travel skull. There's an Enki Feather (1) to grab here (second image below), so make sure you do that before continuing on (2).
Use the rift travel skull and hop down, heading towards the big village you can see. This is a 'Hamlet', which is one of the side activities you can do. Clear the area of enemies (or ignore them) and head for the mini boss in the village. The path is relatively straight forward, but make sure to look around for any upgrade materials or conscript buttons.
The mini boss is nothing to write home about; he's just a big guy with a shield and a mace. Focus on getting a parry so you can drop his shield, and then focus up with Enki to build curse on him for a big hit of damage. Once he's dead, the Hamlet will be free, and you'll be able to enter the coffee shop and speak to the Host.
Speak to the Host and select the Rumors tab, which is what you'll be checking at every coffee shop for potential side quests, and then select the Peacekeepers tab. This will begin the side quest you need to complete for the Sapper's Gauntlet. Head out of the coffee shop, and you'll now be able to exit through the gate instead of going back the way you came.
From here you'll need to follow the main quest (meeting Baz, finding a breaching barrel, killing people indiscriminately, etc.) until you reach a rest point facing a barricade protected by a gunman. Continue on this path, meet my most hated enemy type (the birds), and you'll quickly reach an open area.
You'll see a path leading on, and a camp with some enemies in it below. You'll be ignoring both and heading for the rift travel skull which you can see across from you. Use the various platforms in the area to reach it, and then interact with it. Use the rifts to scale the cliff in front of you, which will lead you right to the side quest area.
You'll be assisting a man who is being chased down by some of the newly zealous citizens of Writ, which will have you fighting some bad guys and chasing them up an abandoned mine. The path is neither difficult, nor complex, so simply continue through the mine until you reach the wounded citizen. Talk to him, he'll thank you for your aid, and reward you with the Sapper's Gauntlet.

What is the Sapper's Gauntlet?
The Sappers' Gauntlet is a great early game armor piece, as it provides you an additional way to gain back your Black Powder charges without needing to land hits, which can be great for players just starting out as it allows you to take your time with combat a little more. But it still offers a considerable boon to the experienced players, especially when used in combination with the Sapper's Helmet which you'll receive as a reward for freeing the town of Mudfish (a main quest you take on shortly).
Using these two pieces together grants you your first armor synergy buff, which in this case will grant an additional 33.3% recharge on your Black Powder charges when you gain charge from any source. This means not only will your regular hits get you more charge, but you'll also get a whopping 48.3% charge per Enki attack, which considering you can throw out four in rapid succession, is one hell of a boost.
If you've found this guide helpful and you're looking for some more Flintlock: The Siege of Dawn content from us here at Pro Game Guides, check out our guide on Where to find the Blunderbuss!


Published: Jul 18, 2024 05:01 am