Minecraft is a game where you can create anything, and your character's skin is no exception. The game is rife for customization, and your character's appearance is easily changed using in-game tools.
However, creating your own Minecraft skin from scratch is a little bit more complicated but not impossible.
How to make my own Minecraft skin
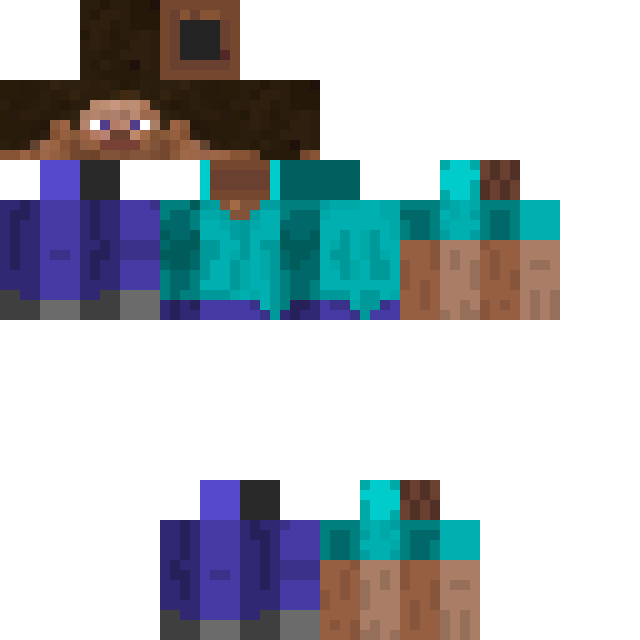
A Minecraft skin is simply a PNG image file. This image wraps around the 3d model of your Minecraft model to create your unique Minecraft skin. Below is an example of the PNG of the basic Minecraft Skin.

To create your own, you need to edit and save a PNG file of your desired skin.
Related: Jschlatt’s Minecraft Skin Template
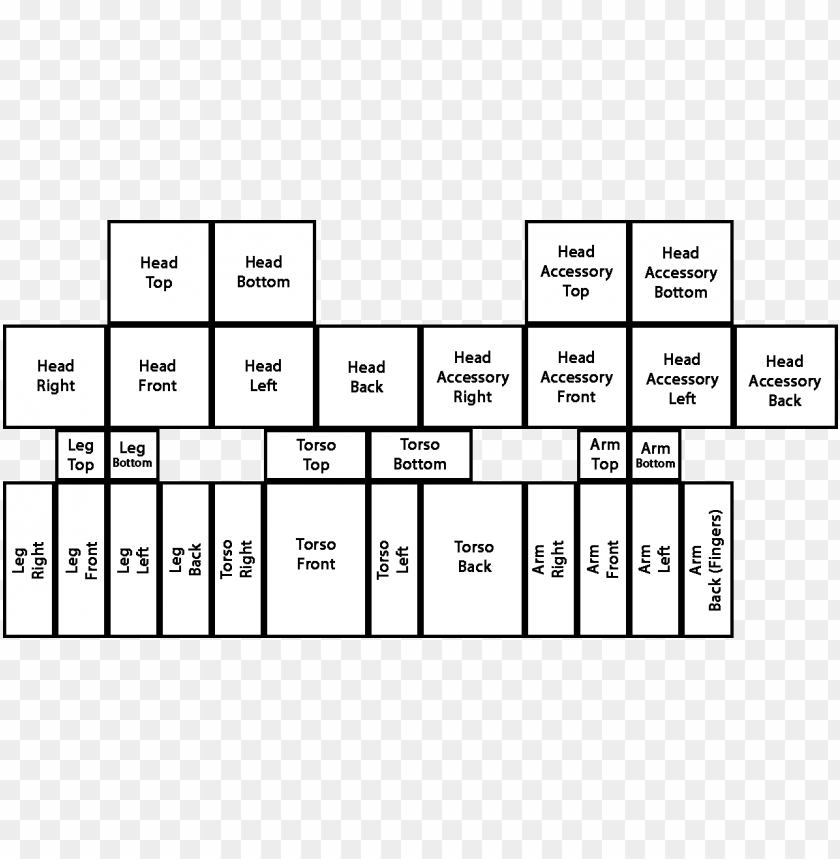
The best way to make your Minecraft skin is to start with this template below. It will tell you exactly where to put each unique part of the skin, such as the head, arms, clothes, etc. Also, use existing skins as your guide to what you need for your skin.

You'll have to use an image editor that supports transparency. Everything on the template that isn't a body part or won't be included must be transparent. Anything transparent will not show up on the finished product.
Alternatively, you can create your skin using an online editor like Skindex's Minecraft Skin Editor. This will create a file that you can download to use as a skin in Minecraft.
Adding your Skin to Minecraft

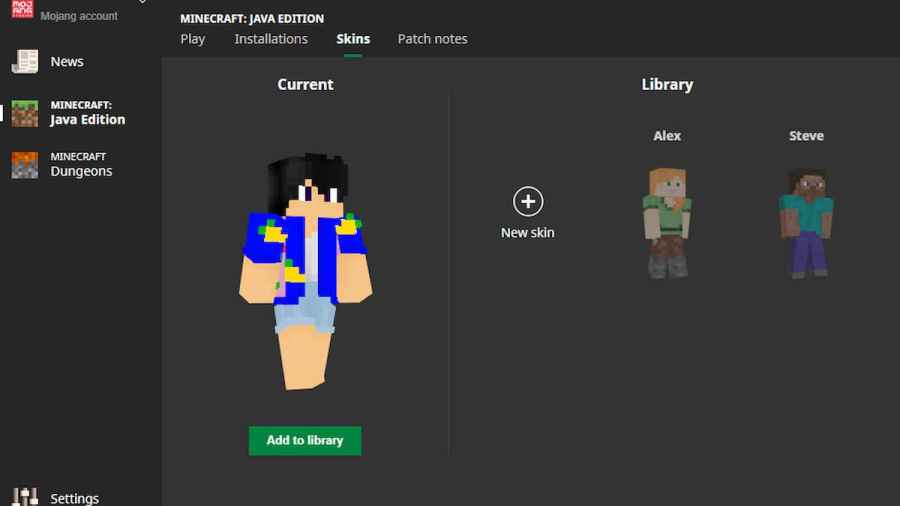
To add this skin to Minecraft, load the Minecraft Launcher, and click on Skins at the top of the page. Next, navigate to the New Skin button. Then search for your skin's PNG file using the file explorer, and add it. You now have your own custom skin in Minecraft!
Now you're an expert in Minecraft skins, check out Wilbur Soots’s Minecraft Skin Template on Pro Game Guides.
